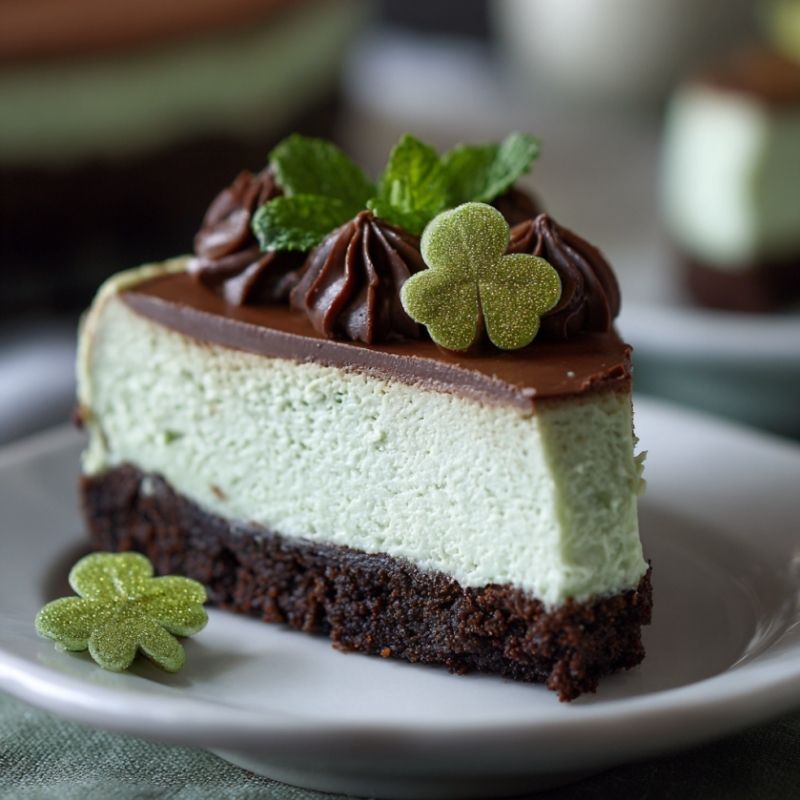
Lush Mint Chocolate Cheesecake
Early evening settles in just before guests arrive, that soft stretch of time when the kitchen feels both calm and slightly electric. I’m at a holiday rental house with my cousin and her kids, the table already dressed in green napkins and mismatched plates pulled from every cabinet.
Someone’s outside hanging shamrock cutouts while I claim the oven like it’s my job. St. Patrick’s Day desserts always invite a little drama, and this one starts quietly. Chocolate cookie crumbs under my fingertips. Cream cheese soft enough to bend without resistance. The kids keep asking how green it’s going to be, and I keep answering “taste first, color second.”
The mixer hums while stories bounce around the room. Someone sneaks a chocolate chip straight from the bowl. The filling turns glossy and smooth, flecked with mint chocolate that promises a cool bite later. When the pan slides into the oven, the house smells faintly of cocoa and vanilla. That’s when I know it’s going to land exactly right.
Short Description
A creamy mint chocolate cheesecake with a crisp chocolate cookie crust, smooth vanilla mint filling, and subtle green charm made for St. Patrick’s Day celebrations.
Key Ingredients
- 1 ½ cups chocolate cookie crumbs
- 5 tablespoons unsalted butter, melted
- 3 packages cream cheese, 8 ounces each, softened
- 1 cup granulated sugar
- 1 teaspoon vanilla extract
- 3 large eggs, room temperature
- 1 cup sour cream
- ½ cup mint chocolate chips
- Green food coloring, optional
Tools Needed
- 9 inch springform pan
- Mixing bowls
- Electric mixer or stand mixer
- Rubber spatula
- Measuring cups and spoons
- Wire rack
Cooking Instructions
Step 1: Preheat the Oven
Set the oven to 325°F. Lightly grease a 9 inch springform pan to prevent sticking, especially around the edges.
Step 2: Make the Crust
In a bowl, mix the chocolate cookie crumbs with the melted butter until the texture looks like damp sand. Press the mixture firmly into the bottom of the pan using the back of a spoon or a flat glass. The crust should feel compact and even.
Step 3: Bake the Crust
Bake the crust for 10 to 12 minutes until set and slightly fragrant. Remove from the oven and let it cool while you prepare the filling.
Step 4: Prepare the Cream Cheese Base
Beat the softened cream cheese on medium speed until smooth and lump free. Scrape down the sides of the bowl to keep the texture even.
Step 5: Add Sugar and Flavoring
Gradually add the granulated sugar and continue beating until fully combined. Mix in the vanilla extract. The mixture should look creamy and glossy.
Step 6: Add the Eggs
Add the eggs one at a time on low speed, mixing just until incorporated. Overmixing here can cause cracks later.
Step 7: Incorporate Sour Cream and Mint Chips
Gently mix in the sour cream until smooth. Fold in the mint chocolate chips with a spatula. Add a small amount of green food coloring if using, adjusting until the color feels subtle and fresh.
Step 8: Fill the Pan
Pour the cheesecake filling over the cooled crust. Smooth the top with a spatula and tap the pan lightly on the counter to release air bubbles.
Step 9: Bake the Cheesecake
Bake for 55 to 60 minutes. The edges should look set while the center still has a gentle jiggle. If the top browns too quickly, tent loosely with foil.
Step 10: Cool and Chill
Turn off the oven and crack the door open slightly. Let the cheesecake cool for about 1 hour, then refrigerate for at least 4 hours until fully set.
Why You’ll Love This Recipe
Balanced Mint Flavor: Cool mint without overpowering the chocolate or creaminess.
Smooth and Creamy Texture: Sour cream keeps the filling rich yet light.
Holiday Friendly: Perfectly festive without feeling gimmicky.
Make Ahead Ease: Ideal for prepping the day before a gathering.
Crowd Approved: Familiar flavors with a fun seasonal twist.
Mistakes to Avoid & Solutions
Lumpy Filling: Make sure the cream cheese is fully softened before mixing. Cold cream cheese won’t smooth out.
Cracked Top: Avoid overmixing after adding eggs and don’t overbake. A slight jiggle is good.
Soggy Crust: Always pre bake the crust so it stays firm under the filling.
Too Strong Mint: Let the mint chips do the work. Extra extract can overwhelm the balance.
Uneven Texture: Scrape the bowl often to ensure even mixing.
Serving and Pairing Suggestions
Serve chilled with a light dusting of cocoa powder or extra mint chips.
Pair with hot coffee, Irish cream flavored drinks, or mint tea.
Works well plated for dinner parties or sliced buffet style for casual gatherings.
Storage and Reheating Tips
Store covered in the refrigerator for up to 4 days.
Keep slices tightly wrapped to prevent drying.
Cheesecake is best served cold and does not need reheating.
Freeze individual slices for up to 1 month and thaw overnight in the fridge.
FAQs
1. Can I make this without food coloring?
Yes. The mint chips give enough character without color.
2. Can I use low fat cream cheese?
Full fat gives the best texture. Low fat can make the filling grainy.
3. How do I know it’s done baking?
The edges should be firm and the center should jiggle slightly when shaken.
4. Can I use a different crust?
Chocolate graham crackers or chocolate wafer cookies work well.
5. Why does my cheesecake sink slightly?
Cooling too fast can cause sinking. Let it cool gradually in the oven first.
Tips & Tricks
Use room temperature ingredients for smoother blending.
Tap the pan before baking to remove hidden air bubbles.
Slice with a warm knife wiped clean between cuts for neat edges.
Chill overnight for the cleanest slices.
Recipe Variations
Mint Oreo Cheesecake
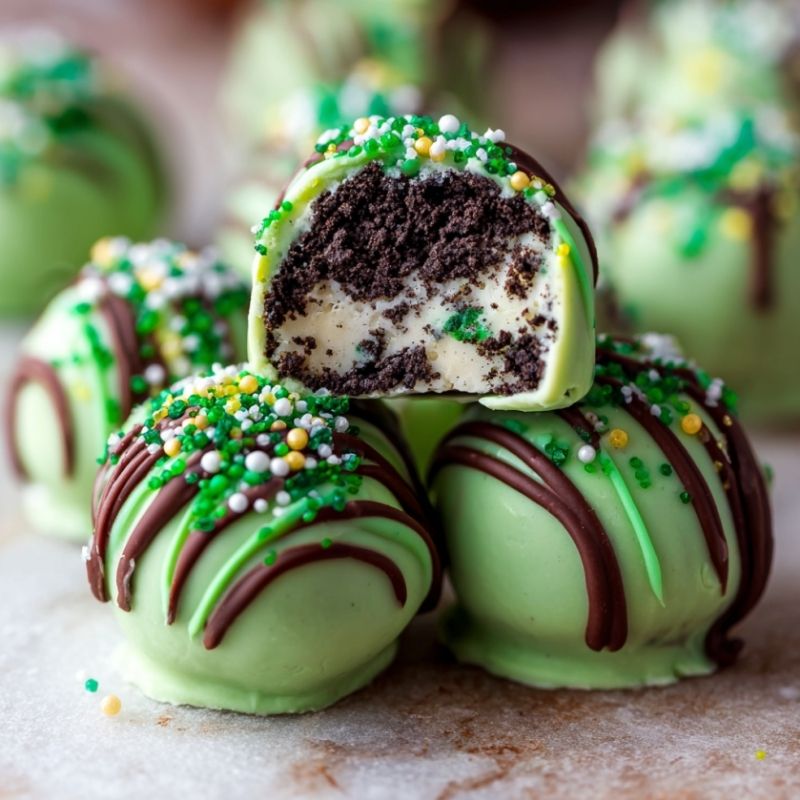
Replace chocolate cookie crumbs with crushed mint Oreos. Skip the mint chips and fold in ½ cup chopped Oreos instead. Flavor becomes bolder and more playful.
Chocolate Swirl Mint Cheesecake
Melt ½ cup dark chocolate and swirl it into the filling before baking. The result is richer with visual contrast.
No Color Classic Mint Chocolate
Skip food coloring and add an extra tablespoon of mint chips. The look stays neutral while the flavor shines.
Final Thoughts
Once the cheesecake sets and the house quiets down, slicing feels almost ceremonial. The first piece always tells the truth. Clean edges, soft center, just enough resistance from the crust. The kids stop talking for a second, which says everything. This dessert doesn’t shout holiday, it nods to it.
Cool, creamy, familiar in the best way. It fits into the evening without stealing attention, then quietly becomes the thing people remember. Plates stack in the sink, conversations drift back to plans and stories. The last slice waits patiently in the fridge. That’s the kind of ending I like.
Lush Mint Chocolate Cheesecake
Course: DessertDifficulty: Easy10
servings25
minutes1
hour4
hoursA creamy mint chocolate cheesecake with a crisp chocolate cookie crust, smooth vanilla mint filling, and subtle green charm made for St. Patrick’s Day celebrations.
Ingredients
1 ½ cups chocolate cookie crumbs
5 tablespoons unsalted butter, melted
3 packages cream cheese, 8 ounces each, softened
1 cup granulated sugar
1 teaspoon vanilla extract
3 large eggs, room temperature
1 cup sour cream
½ cup mint chocolate chips
Green food coloring, optional
Directions
- Preheat the oven to 325°F and lightly grease a 9 inch springform pan, making sure the edges are well coated to prevent sticking.
- Mix the chocolate cookie crumbs with the melted butter until the texture resembles damp sand. Press the mixture firmly and evenly into the bottom of the pan using the back of a spoon or a flat glass.
- Bake the crust for 10 to 12 minutes until set and lightly fragrant. Remove from the oven and let it cool while you prepare the filling.
- Beat the softened cream cheese on medium speed until completely smooth, scraping down the sides of the bowl to keep the texture even.
- Gradually add the sugar and continue mixing until creamy and glossy. Blend in the vanilla extract until fully incorporated.
- Add the eggs one at a time on low speed, mixing just until combined. Avoid overmixing to reduce the risk of cracks.
- Gently mix in the sour cream until smooth, then fold in the mint chocolate chips. Add a small amount of green food coloring if using, adjusting until the color looks subtle and fresh.
- Pour the filling over the cooled crust and smooth the top. Tap the pan lightly on the counter to release any trapped air bubbles.
- Bake for 55 to 60 minutes, until the edges are set and the center still jiggles slightly. If the top browns too quickly, tent loosely with foil.
- Turn off the oven and crack the door open. Let the cheesecake cool for about 1 hour, then refrigerate for at least 4 hours until fully set.